How To Resize Your Photos Using Photoshop
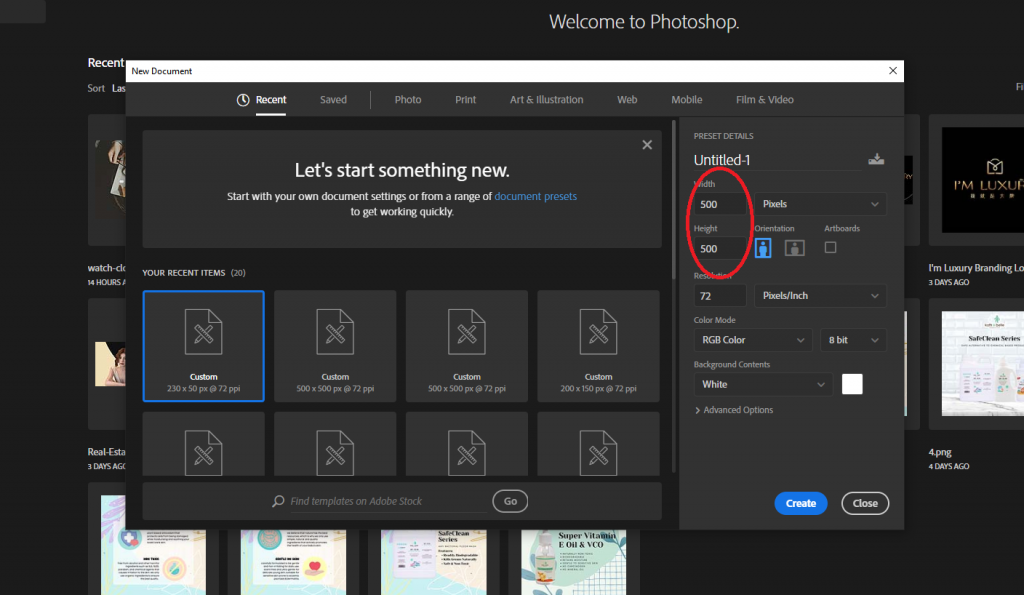
Drag All The Files Into Photoshop
You may drag and drop your files into photoshop, it depending on your computer, if your computer can take it you may one-shot put all ur images here, else i would recommend put 1 by 1 or 10 by 10.
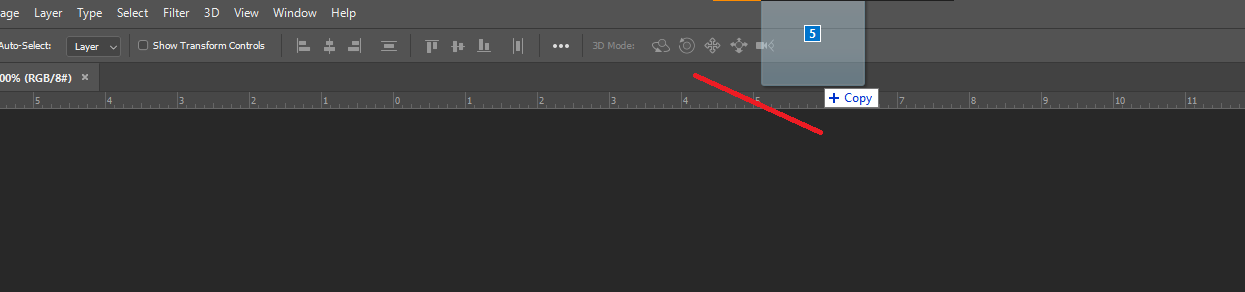
Drag The Product Photos To The 500×500 File
Now, all u need to do is drag ur product photo 1 by 1 to the first file that you created earlier (500×500)
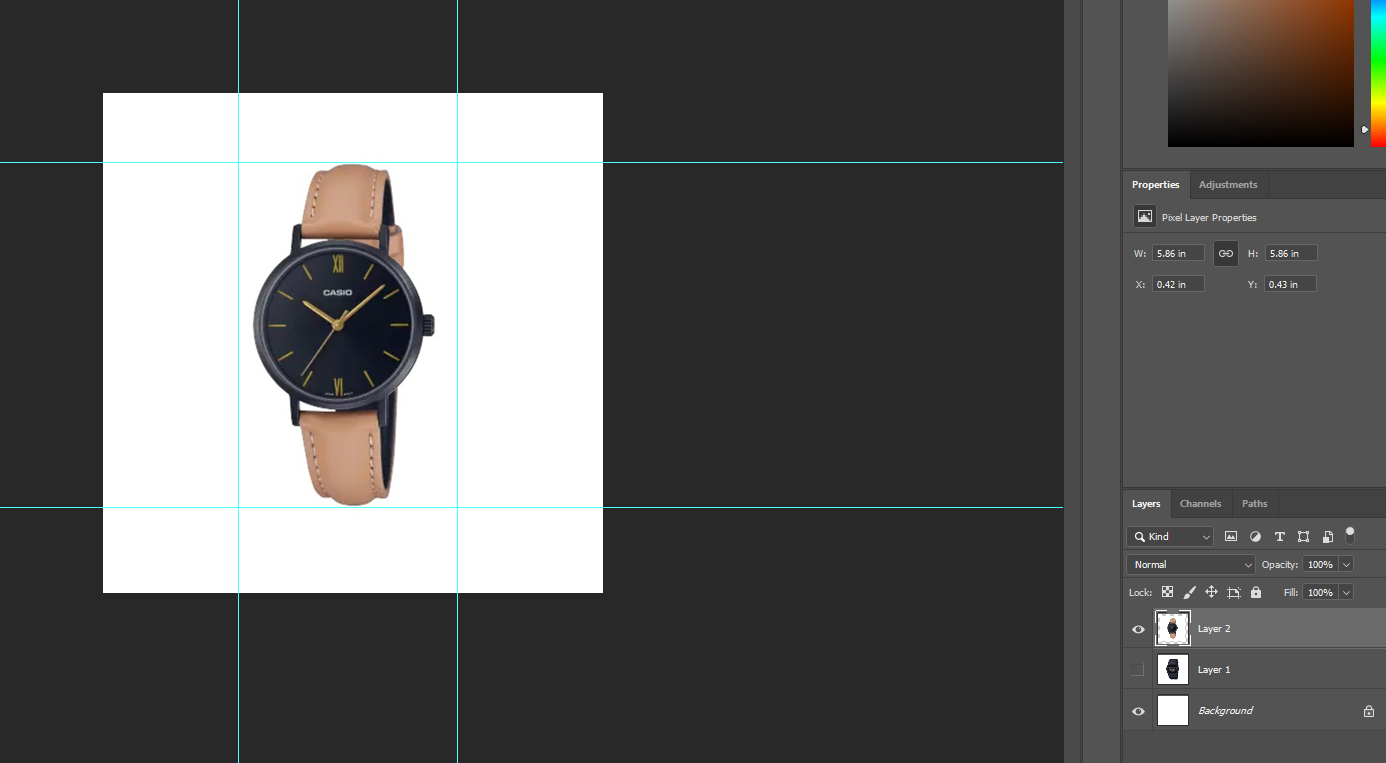
Do not worry if your product photos is bigger or smaller than the 500×500, we are going to make it align properly, press CTRL + T to enable resize, then hold ALT and drag to resize (You must hold alt and drag, this is to make sure the ratio of your image is the same, to remain the quality of your photo).
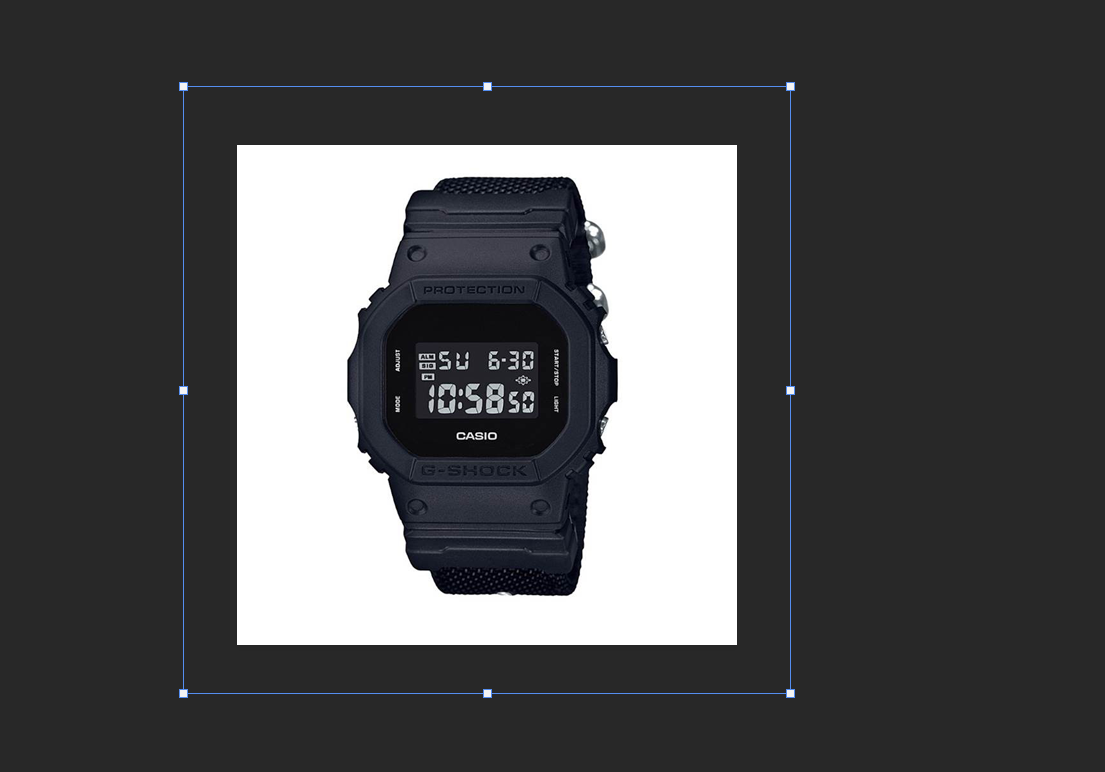
You may drag the product to smaller to fit into the 500×500, you can either leave some edges at the side or not it is entirely up to you, once u are done with it, it will look something like this.
Save As Web File
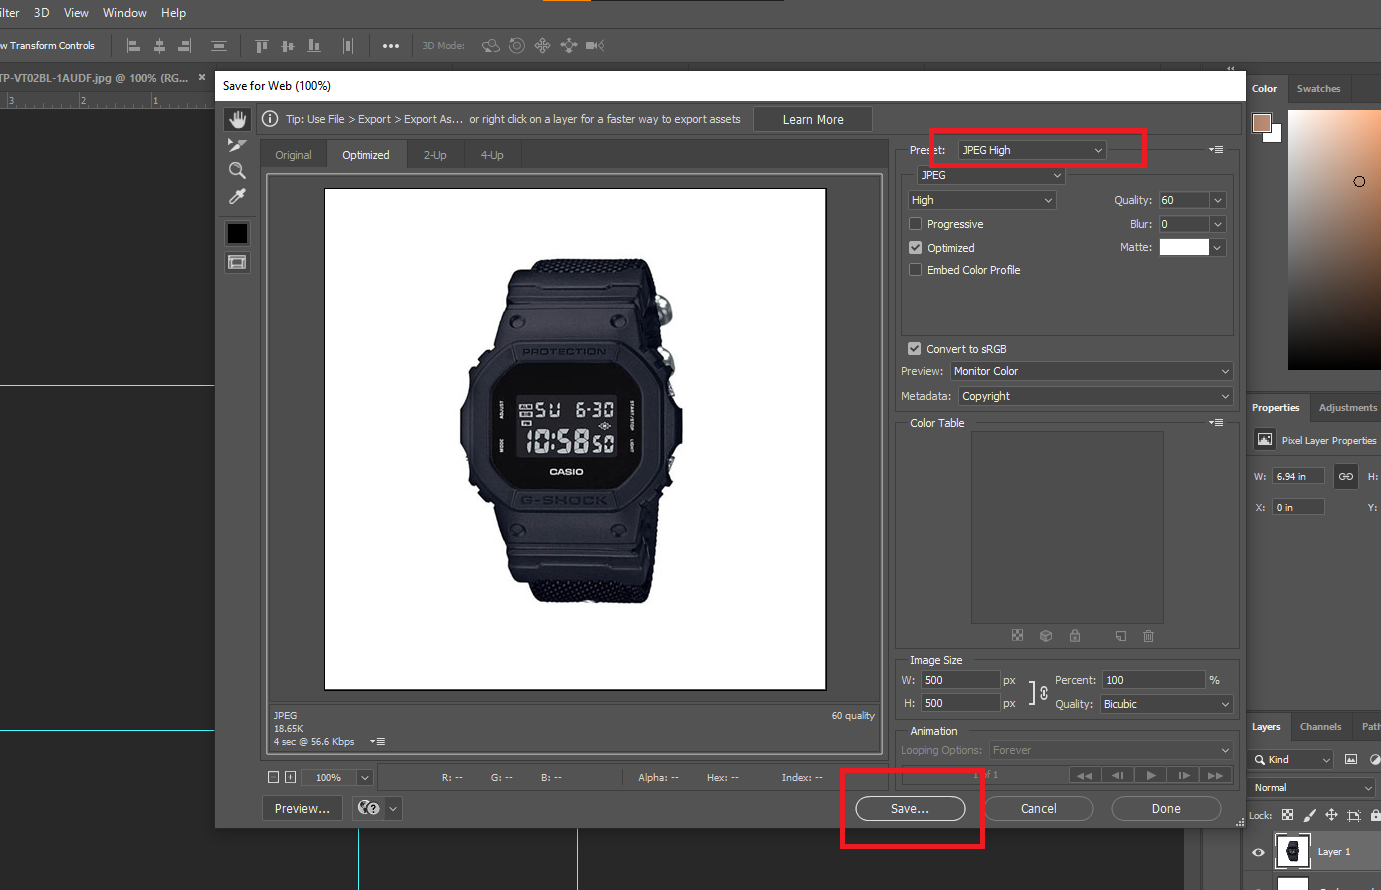
Next, we will have to save as web files, the benefits of doing this is to reduce the weight of your photos yet to remain quality at the same time, you wouldn’t want to have large image file to slow down your website speed, hit CTRL +SHIFT +ALT +S at the same time and this box will show up, choose your image type on the top right, I will be using jpeg high for this case, and click save, thats it, you have completed your first resize.
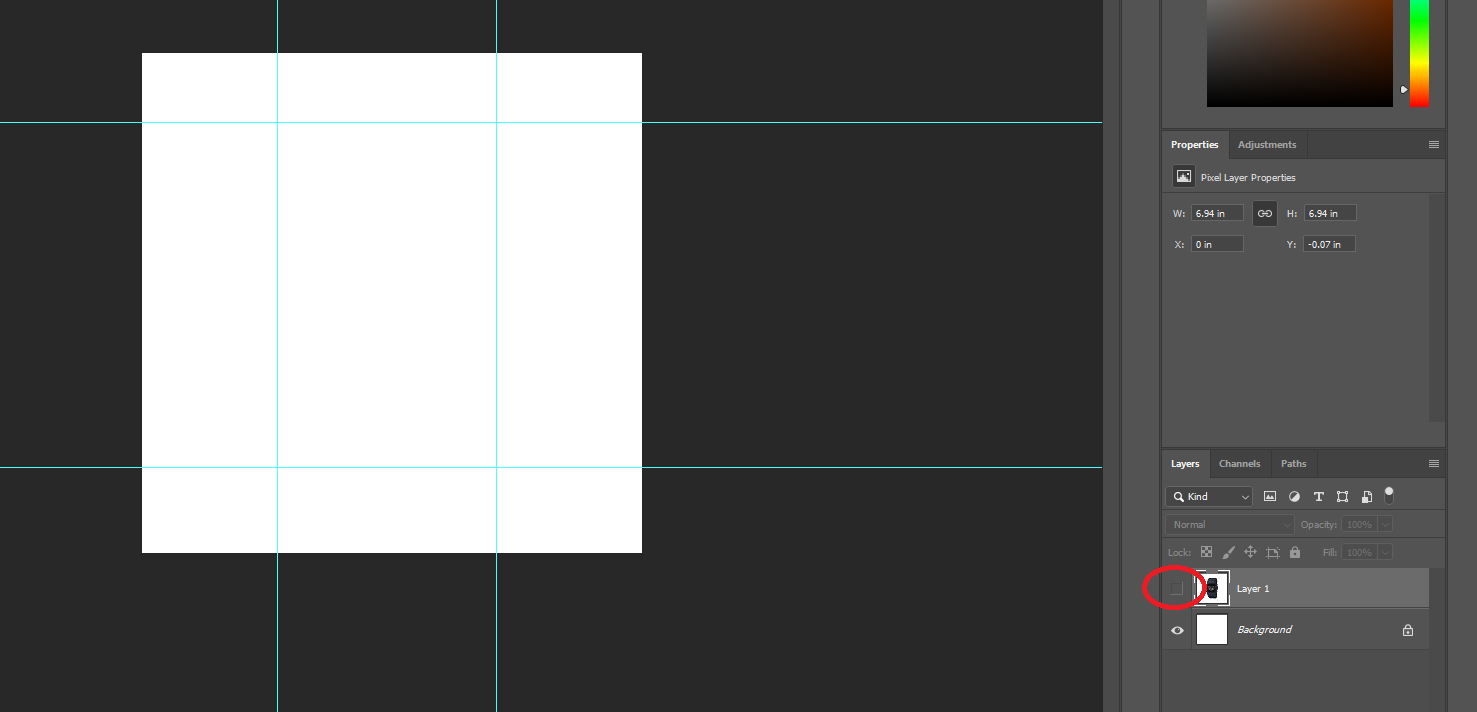
Setting Ruler For Other Products
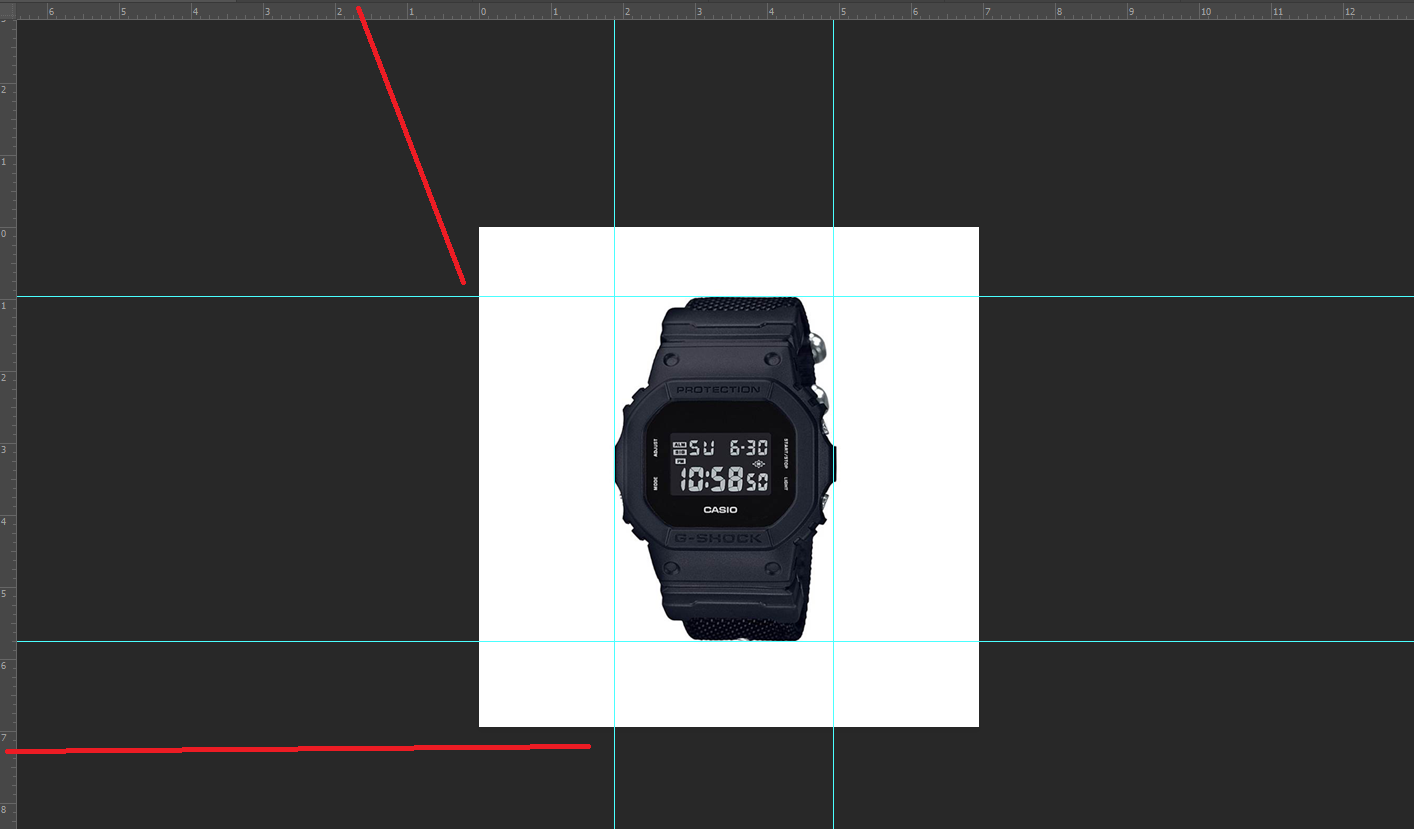
You may drag a ruler down from the top ruler bar and side ruler bar, to set a line on the image, this will not be exported out, you will only able to see this in photoshop.
Hide The First Product
Once you double-check that all of the product details are correct, you can hit Publish to make your product live
Repeat The Steps For Second Product
Repeat the same steps for all of your product to align the image size.
This resize flow is not compulsory, without doing this you still can get your ecom website up and running, however if you care about your branding, this is the essential steps to make your website look good, a good website branding brings you credibility, which will eventually lead to more sales. If you have no time on doing this on your own, you may hire us for 1 Image = RM1 here, minimum 20 images per order.
Related Posts